Skip to main content
Search
Search This Blog
Rocky Mountain Adventure
Hiking, Backpacking, Fishing, Geocaching and Photography in the Rocky Mountains and beyond.
Pages
Home
Fishing
Geocaching
Camping/Hiking
Photography
More…
Posts
Showing posts from May, 2022
Show all
May 31, 2022
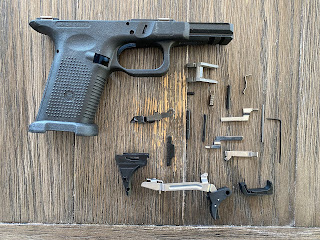
Lone Wolf Freedom Wolf Lower Parts Kit Installation
May 20, 2022
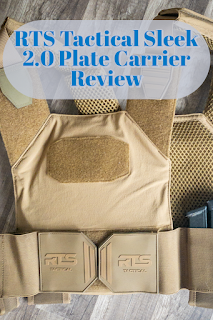
RTS Tactical Advanced Sleek 2.0 Plate Carrier Review
May 02, 2022
Vortex Crossfire HD Rangefinder
Newer Posts
Older Posts
Home